Center bars and plates
A bar or plate provides a focal point for a short message or brand detail. Confirm length, width, thickness, curvature and the area available for artwork.
CORD BRACELET COMPONENTS · SHAPE / CONNECTION / FINISH / ARTWORK
Develop the stainless steel details around the complete bracelet. The centerpiece, cord connection and branding position should be reviewed together before sampling.
A bar or plate provides a focal point for a short message or brand detail. Confirm length, width, thickness, curvature and the area available for artwork.
A round, geometric or custom silhouette can be reviewed from a reference. Thin features, narrow bridges and small openings may need adjustment for the selected process.
Small tags can sit near a cord end or attach at another suitable point. Specify tag dimensions, attachment hole and whether the tag hangs freely or remains in a fixed position.
Metal spacers, beads or charms can be reviewed alongside cord or stone details. Confirm hole clearance, weight and the intended position before assembly.
These simplified diagrams explain placement only. They are not client designs, finished samples or manufacturing drawings; dimensions and connections are reviewed separately.
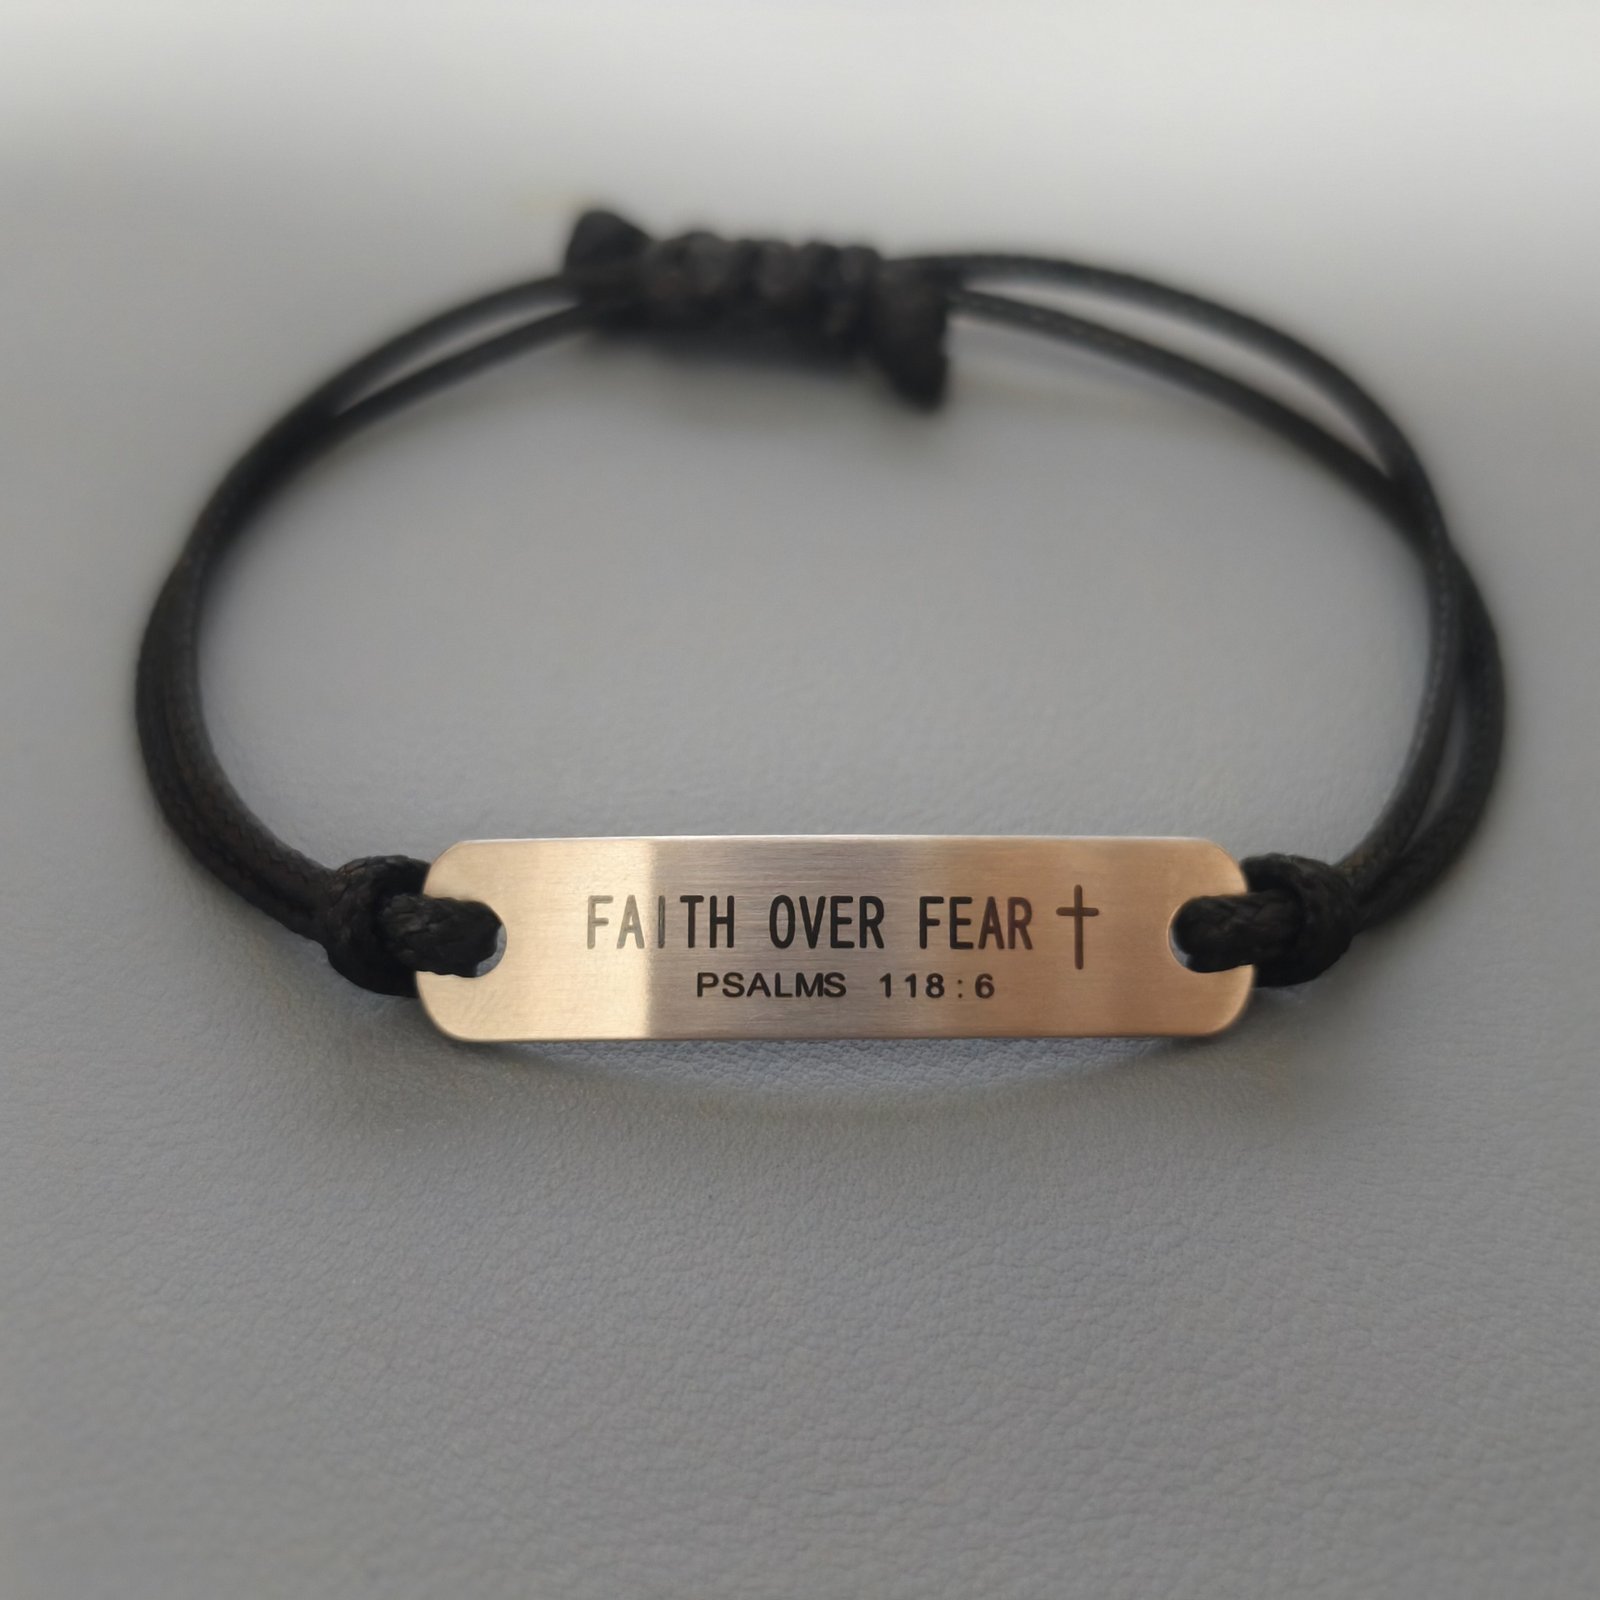
The sample front shows a larger phrase and cross above the smaller reference line. The black cord meets the bar at both end openings. Use this view to discuss line hierarchy, the space around the symbol and the connection as one assembled design.
Approve exact lettering and spacing on the actual-size production proof, then review the physical sample. A presentation edit does not verify hole dimensions, material grade, surface process or engraving depth.
See the front, reverse and adjustment photographs →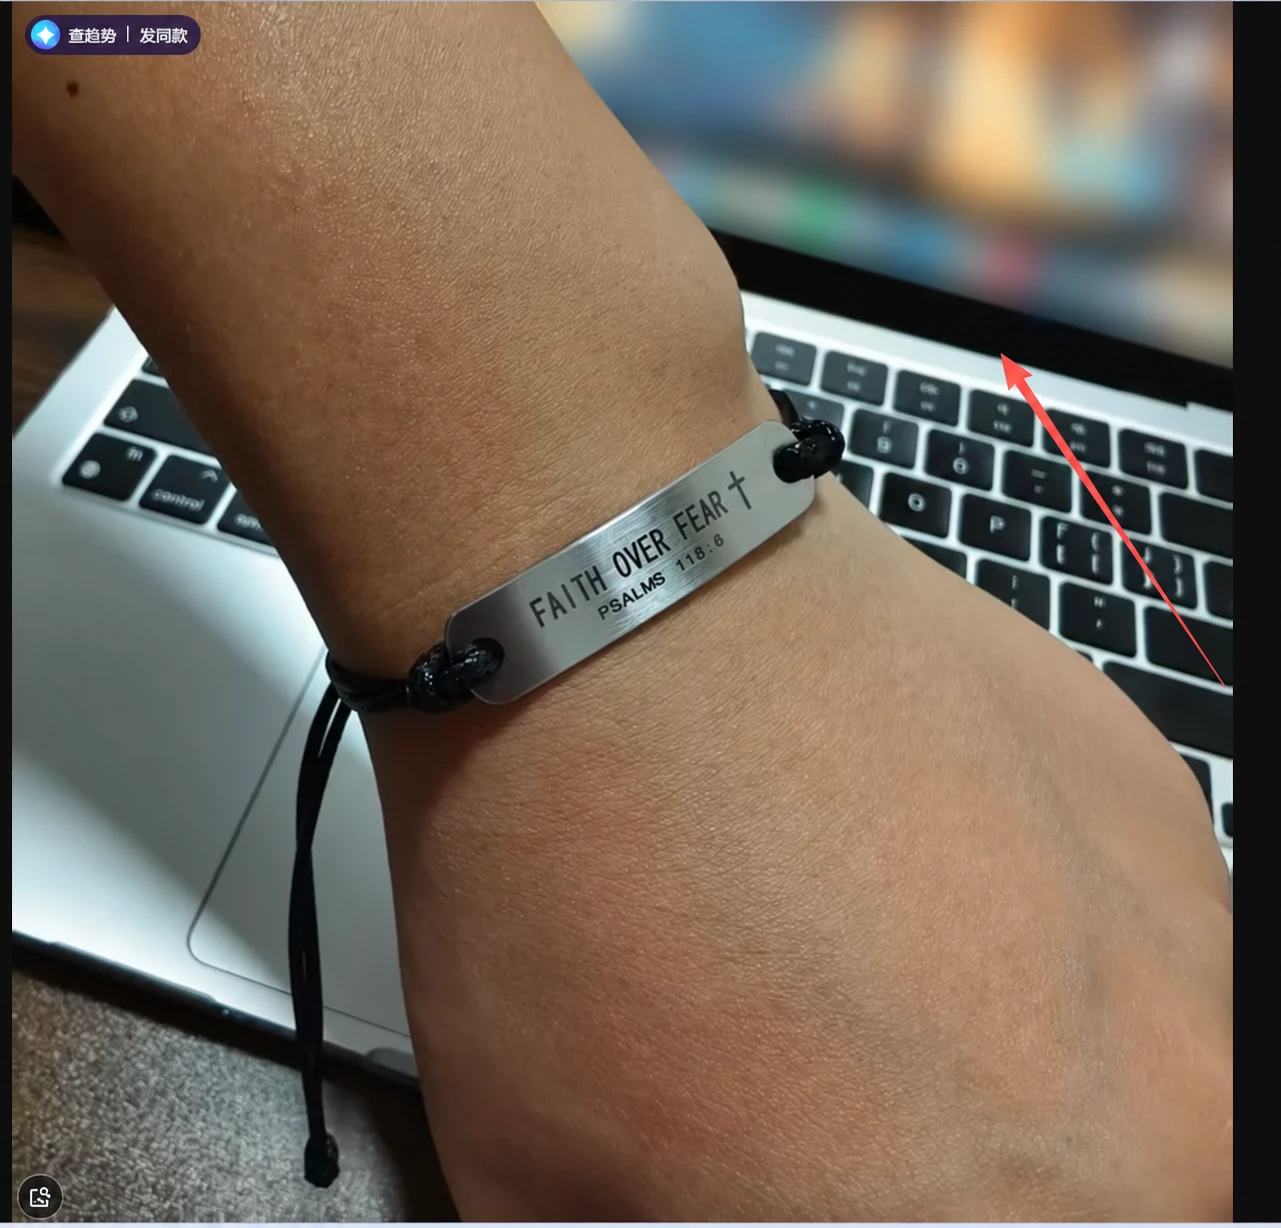
This customer project places the main phrase and cross symbol above a smaller reference line. Black cord connects at each end of the silver-tone bar. The photograph helps review how the lettering reads when worn and where the cord meets the metal part.
Confirm material grade, engraving process, component dimensions and surface finish separately for your specification.
See the complete project and labeled AI visualization →Share cord diameter and construction alongside the metal drawing. Hole size, slot dimensions, edge finish and assembly clearance affect threading and wear. The connection should be checked with the actual cord sample.
Review the front, reverse or a separate tag as possible branding positions. A design that looks clear on a large screen may become difficult to read on a small metal part.
Send a vector artwork file when available, plus the requested finished artwork size. Fine lines, small letters and detailed symbols may need a simplified layout. Approve the production proof and physical sample before bulk production.
This route may be reviewed when the surface and available area suit the artwork. Suitable existing products with laser logos may start from 50 pieces; eligibility is confirmed by style.
These change the metal construction and can require different tooling. Depth, line width, surface finish and production quantity are reviewed separately.
A recessed color detail can be reviewed from a drawing. Small divided color areas need their own feasibility and sample review; screen appearance alone is not production approval.
State the required stainless steel grade and target market. Natural steel, polished or brushed surfaces and PVD color directions are reviewed against the part geometry. Confirm the final appearance on the actual component and finished bracelet sample.
Material grade alone does not establish product compliance or wear performance. Identify any required testing and final-product expectations in the brief.
An existing compatible component can reduce development work. A new outline, connection or structural logo follows a separate process, tooling and MOQ review. Do not apply the 50-piece laser-logo route automatically to a new metal design.
Specify the number of cord strands passing through each opening, the actual cord sample and the cord-end preparation. Nominal cord diameter alone is not an assembly specification. Confirm that the prepared end can be threaded and that the assembled cord can move as intended.
Include the hole entrance, exit and underside in sample review. Look for burrs, sharp contact edges and rough surfaces where the cord bends. Agree any rubbing or pull-check method for the complete assembly before testing; a polished front face does not verify the connection.
A layout confirms placement. Inspect the actual sample for letter clarity, fine detail, contrast on the selected finish and appearance on a curved surface. A screen mockup does not establish engraving depth, tactile feel or wear performance.
Confirm whether an unmarked reverse is intentional. If the design changes, approve the revised artwork and identify which version replaces the previous one.
A logo tag carries branding; an end tag describes its position near a cord tail; a cord end cap encloses or finishes a cord end. These terms can overlap, so send a placement sketch rather than relying on the name alone. Confirm whether the part hangs, slides or is fixed, and whether it interferes with adjustment.
Confirm whether the bar is flat or curved, which face contacts the wrist and how the cord enters each side. Review the side profile and on-wrist sample as well as the front view. Dimensions alone do not show how a long plate sits on a smaller wrist.
We review custom shapes from a reference or drawing. Construction, detail limits, process and quantity determine the next development step.
We review the artwork at its finished size. A simplified logo or short text may be more workable than a detailed mark.
Compatibility must be checked for each cord diameter and construction, including threading, adjustment and assembly.
Reference or drawing, part dimensions, cord specification, material, finish, artwork, quantity and target market. Include test requirements and any details that must remain confidential.