Sliding knot
Review knot construction with the chosen cord material and diameter. Check adjustment force, holding behavior, tail length and whether the knot can be operated as intended.
CORD BRACELET FIT · WRIST / INNER CIRCUMFERENCE / OPENING / TAILS
Specify how the bracelet should fit before sampling. Wrist measurement, finished inner circumference, maximum opening and cord-tail length describe different parts of the design.
Use these diagrams to label your size brief. They are conceptual measurement references, not physical samples, manufacturing drawings or recommended dimensions.
In your brief: label A, B, C and D; state units, the agreed measuring method and tolerances. For fixed-clasp or elastic constructions, identify which measurements apply rather than copying an adjustable-cord specification.
Measure the wrist at the intended wearing position with a flexible tape. Record the unit and preferred fit: close-fitting, regular or looser. Avoid treating wrist size as the production length.
Share the target wearer group, smallest and largest intended wrist sizes and a reference bracelet when available. There is no single universal adjustment range for every cord bracelet.
Review knot construction with the chosen cord material and diameter. Check adjustment force, holding behavior, tail length and whether the knot can be operated as intended.
A metal slider or adjustment detail must suit the cord diameter and surface. Review threading, edge finish, clearance and holding behavior on the actual sample.
Specify finished inner circumference and how the clasp contributes to the measurement. Confirm clasp operation and the finished wearing fit.
If the design uses elastic cord, confirm its specification, bead weight and relaxed finished size. Stretch behavior and recovery require separate sample assessment.
A wide or rigid metal bar can sit differently from a flexible cord section. Curvature, bead diameter and component spacing can change the usable inner circumference and wearing feel.
Review the complete assembled sample. A cord-only measurement does not establish the fit of a bracelet with a centerpiece, stone beads or a clasp.
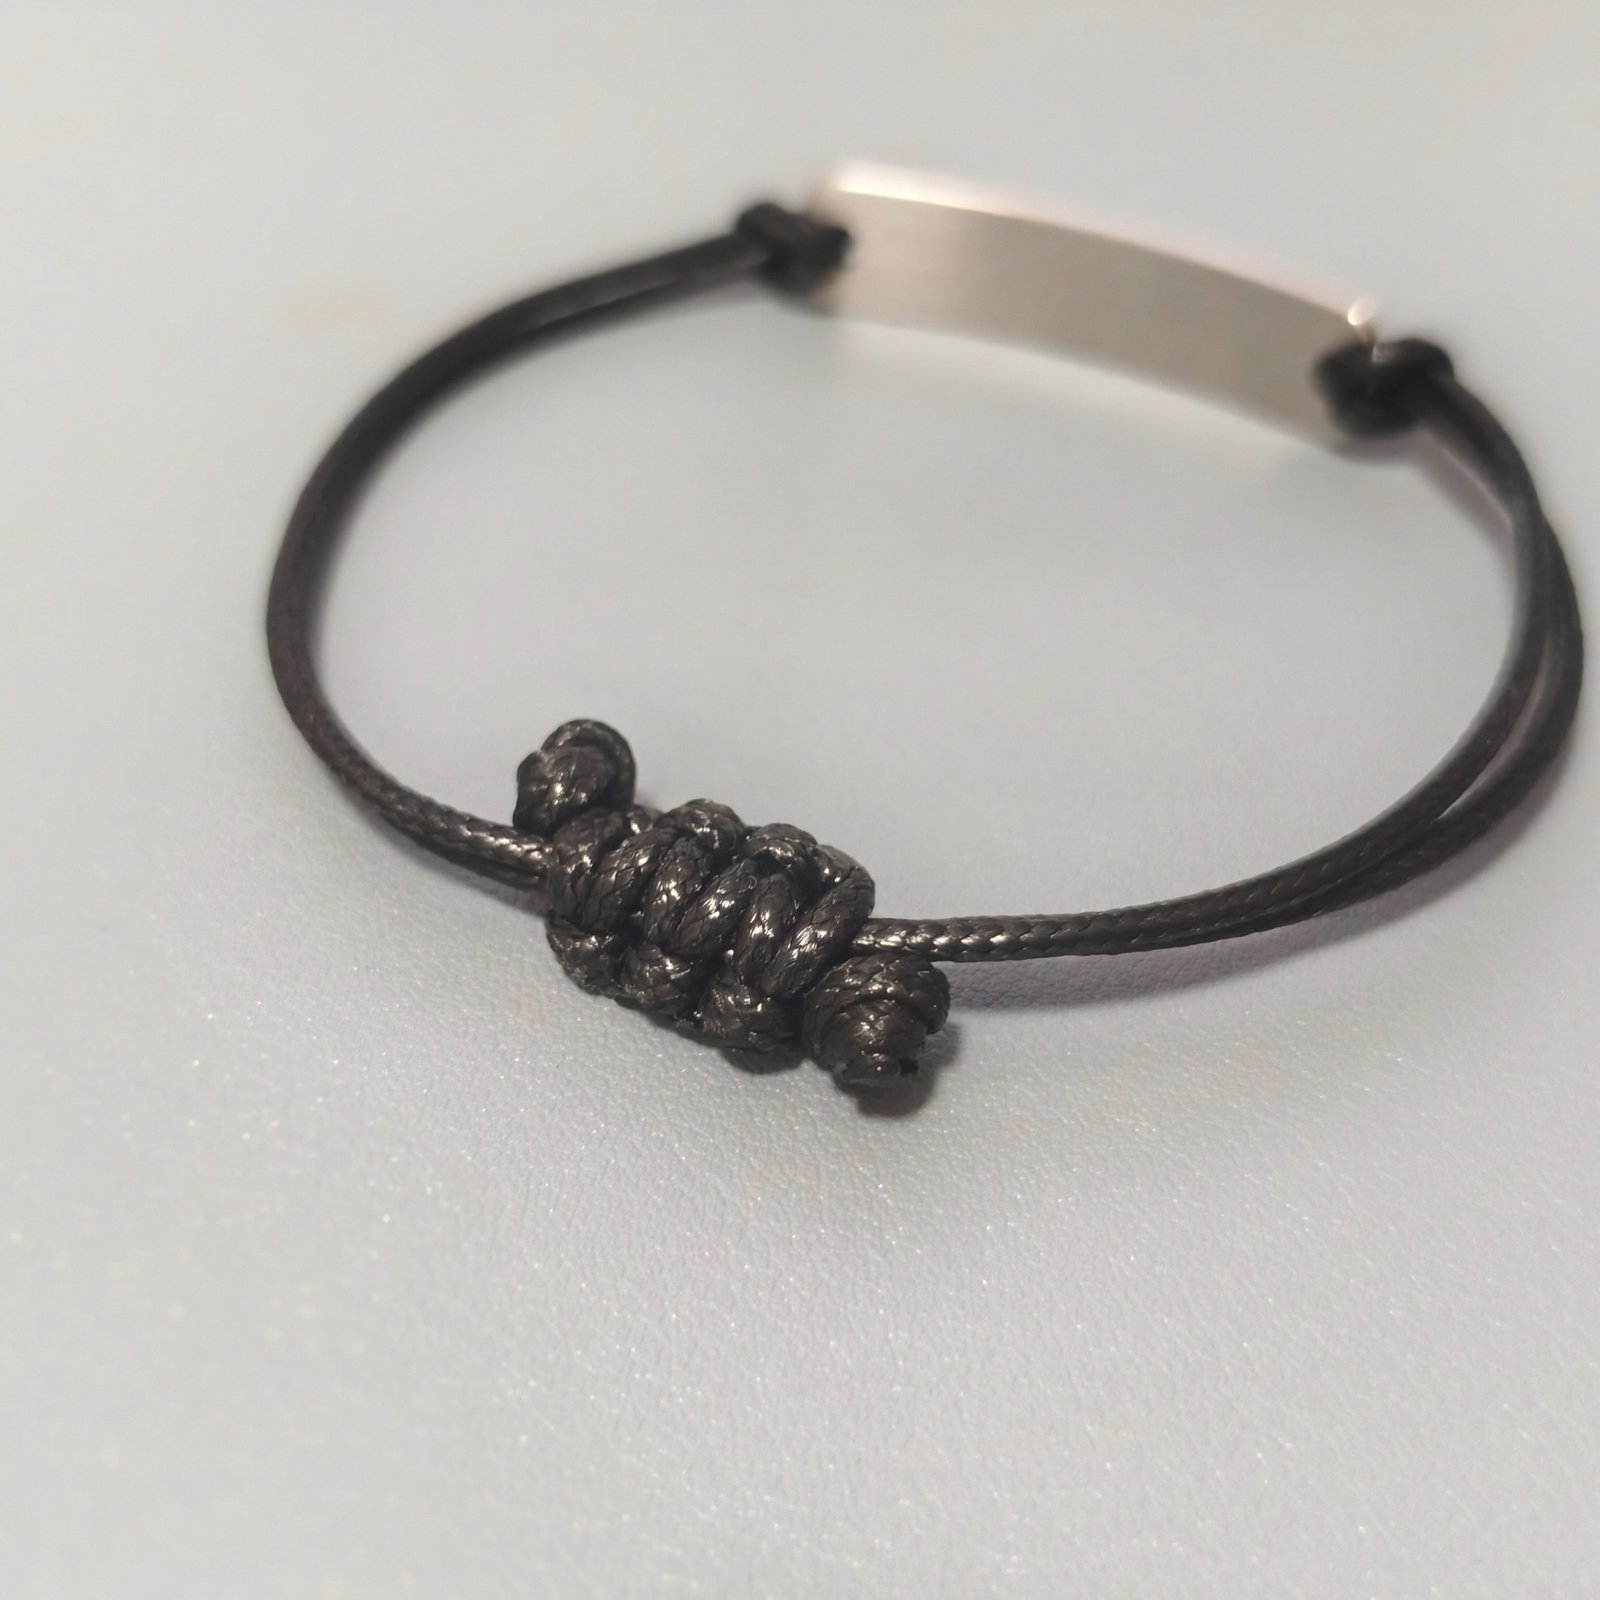
This customer sample reference shows the rear knot, cord routing and reverse of the message bar. Review it together with the front view when planning the complete bracelet.
This single photograph records one position. Actual dimensions, adjustment range and operating feel need to be checked on the physical sample.
Compare the sample front and reverse →
Review the message bar connection →
If final dimensions are undecided, send the target wrist range with units, a reference and the fit you want us to review.
Review My Size Brief →Use a sketch to show measurement points. Define whether a dimension includes knots, clasp hardware or end tags, rather than relying on a product name such as “adjustable size”.
Ready to review the fit? Send your target wearer, wrist range with units, closure direction and a sketch or reference. Mark any unfinished measurements so they can be reviewed before sampling.
Discuss Sizing & Adjustment →A size request needs a measurement definition. “18 cm” could mean wrist circumference, finished inner circumference or an end-to-end length. These describe different things. Label the measurement on a sketch, state the closure position and agree how it will be checked.
Record the intended wrist range separately from the maximum opening needed to pass over the hand. A bracelet may fit the wrist once closed but still be difficult to put on. Check both using the complete sample.
Show the bracelet at its smallest and largest intended settings. Measure the visible tails in each position and confirm whether they should be equal. Include end beads and tags when judging appearance and interference.
Agree the method, number of cycles and acceptance criteria before testing. No universal adjustment-force or cycle rating is claimed for every cord and closure combination.
Keep the cord specification, knot or slider construction, measurement method, agreed tolerances and photographs of both adjustment limits with the approved sample. A change in cord, centerpiece or closure should trigger a fit review.
No. Specify the intended wrist range and opening requirement. Confirm the result on the complete sample.
No. Wrist circumference, inner circumference and flat product length are different measurements.
The knot must be reviewed with the cord material, diameter and surface. Sample adjustment and holding checks are needed.
Yes. Its width, rigidity and curvature can change how the bracelet sits. Review it as part of the assembled sample.
Send the intended wearer, approximate wrist range and reference. These provide a starting point for developing a measurable size brief.